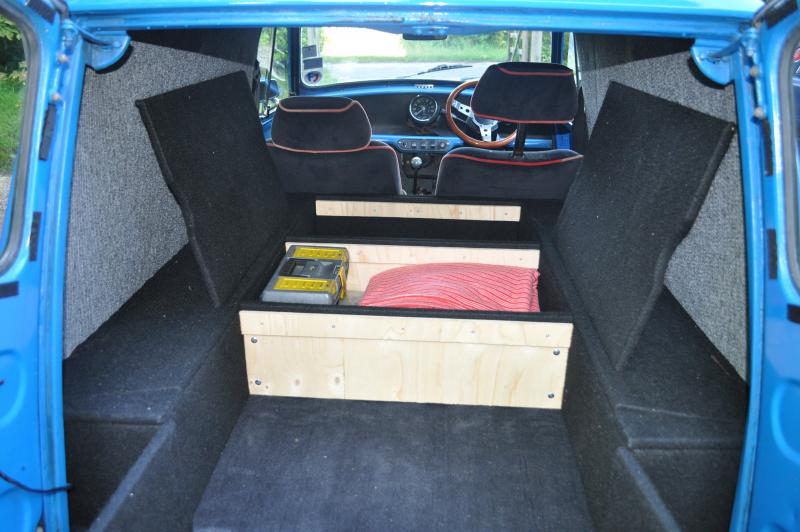
I bought my 1979 Austin Mini van a couple of years ago and built a miniature ‘campervan’ interior. I then went travelling around Europe for two months covering over 5000 miles, visiting 12 countries. Then last year driving up to Stockholm over a few weeks during the summer.
Apart from the following standard Mini mechanical issues, everything went smoothly…[/size]-
Overheating and the heater matrix spouting a leak on my passenger’s foot
Sorting out the bodged wiring
Upgrading to disc brakes
Clutch release bearing disintegrating in the Netherlands
Exhaust constantly working loose and then one of the LCB manifold branches shearing off in Germany. I ‘repaired’ it with a coke can and some jubilee clips!
The bonnet opening at 90kph in the rain on an autobahn
Leaking sliding windows
Oil leaking from a perished gear linkage seal
Massive backfiring after the battery cable sheath perished and arced to the underside of the floor
Electronic distributor and alternator getting soaked in storms in Slovenia and misfiring
This list is longer than I imagined when I started writing it!
Wipers failing on the autobahn and having to move them again with my hand out the window
The floor filling with water regularly and only realising a few weeks ago there’s a grommet I could have removed to drain it!
After doing a bit of research on the water-in-car issues, I realised my van has had the notorious wide sills fitted. I decided that I would replace these with the originals before the rust sets in….on removing the RHS outer sill, it turns out they can hide a fair bit of corrosion before it shows externally!
After some prodding, I now know that the following areas need attention (RHS assessed only, so far!):[/size]-
Underside of box-section under front seats
Front of sill adjacent to front wing
Various points along inner sill (sloping part of the floor pan)
Corner and underside where rear floor pan meets heel board underneath load bed
Large hole (with bodged metal plates from previous owner) on panel to the side of the heel board (which is a nightmare to access!).
i’ll post some photos of the problem areas below, and would really appreciate any advice you can give as this is the first bit of bodywork and welding i’ll have undertaken! I’ll try to update the project blog as I progress!
I’m not interested in having a concourse quality car, I’d be scared of using it! But a neat looking structurally sound van that I know is going last for a few more years and many more adventures.
Wish me luck getting this done ready for the Spring!
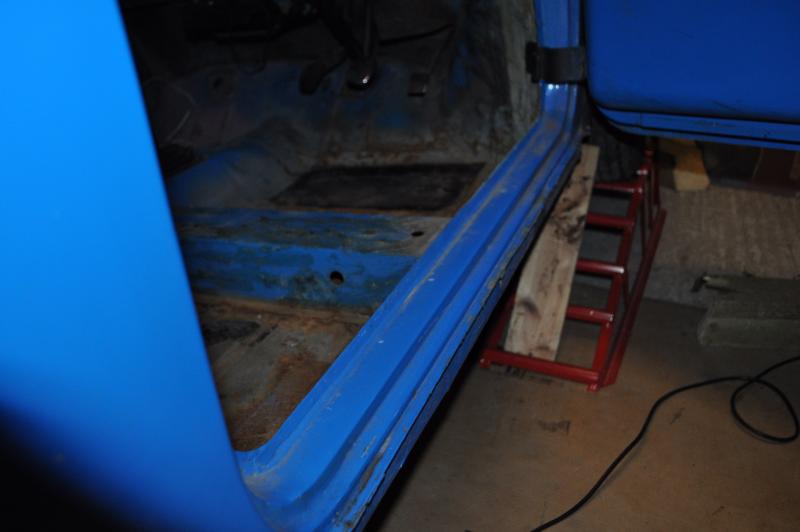
View from the driver’s side to under the load bed overhang looking at the inner-sill to heel board corner. Lots of corrosion here. It looks like the previous owner attempted to weld in some sort of plate very badly into here on the side!
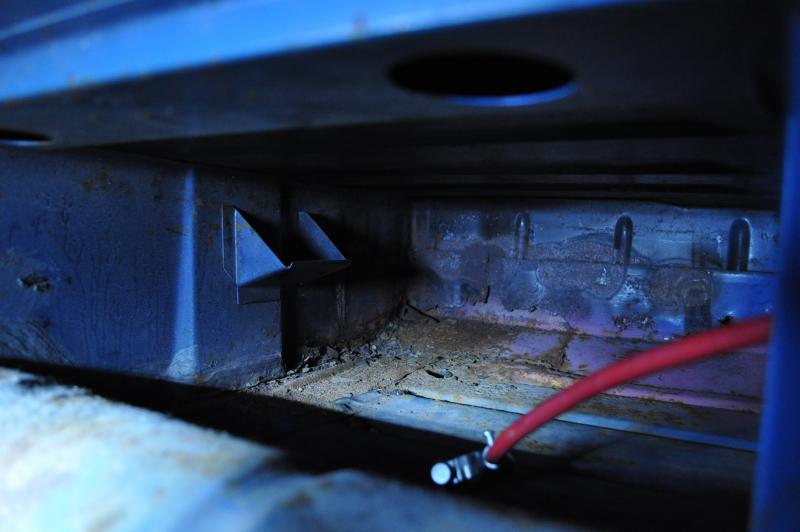
View from driver’s side, under load bed looking at the heel board and centre tunnel. This looks in better condition, but i’m a little worried about the hole higher up?!
Looking from the same place, but across to the passenger side, heel board to LHS inner sill corner
The same corner
The rear subframe viewed from behind, this looks in pretty good condition
Surface rust on the load bed
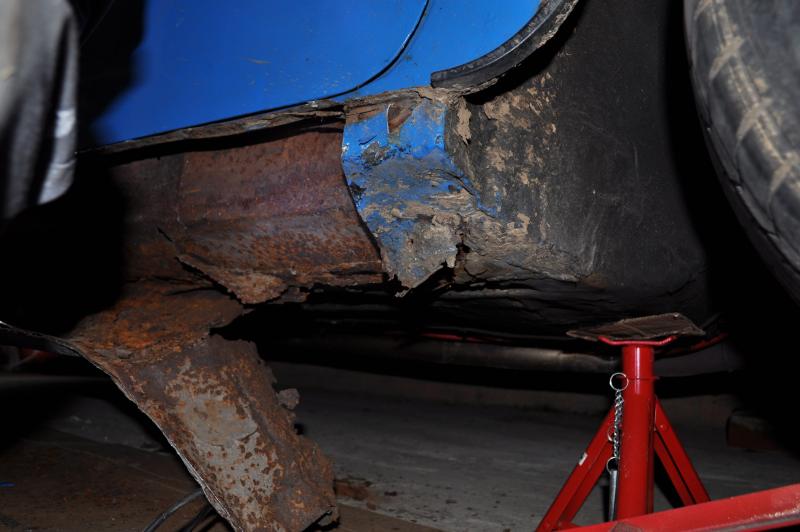
The RHS wheel arch looking back from the passenger seat position, some corrosion between it and the side panel
Trips were great fun Dave, I’d recommend taking a well prepared Mini abroad to anyone although I wish I knew the sliding windows leaked before I was in a storm in Turin!
The back is now on mkII, for the first trip I built cupboards up the sides to store things and an extension board to go down onto the front seats when they were folded forwards so I could sleep flat out Unfortunately i struggled to fit everything in, and the cupboards were opening when I cornered hard on the Alpine roads
This is how it looked last trip, I decided it would be more practical to have a flexible setup. So the whole back is now storage, but the centre 3 sections can be removed when I’m not travelling. I have the whole width of the van to sleep in and I insulated the sides and roof panels which quietened things a bit…apart from the excessively loud exhaust, which i’ll be addressing!
How did you fix the side panels in as I’m thinking of doing that on my van?
I’m looking to tour Europe one day but looking a towing a teardrop caravan, any suggestions of must see places?
Your van is not as bad as mine was. My suggestion would be to do it properly. Strip most of the suff of the van so there is less tendancy to bend the shell while your replacing the sills. I patched my floors and in hind sight should have just cut the whole lot out. Just remember that the van is a few inches longer than a saloon so the floor is longer. m-machine are good for panels.
Nice project. Huey (Pageant Blue pick-up) says Hi. We have three vans in our mini club, two of them actually on the road, and considering we’re only 12 members we’re quite proud. Mind you, we also have an Elf and a Scout.


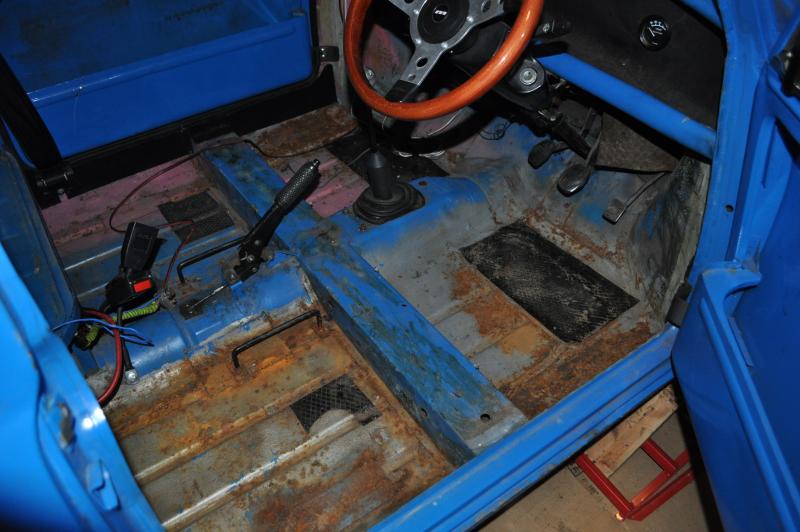


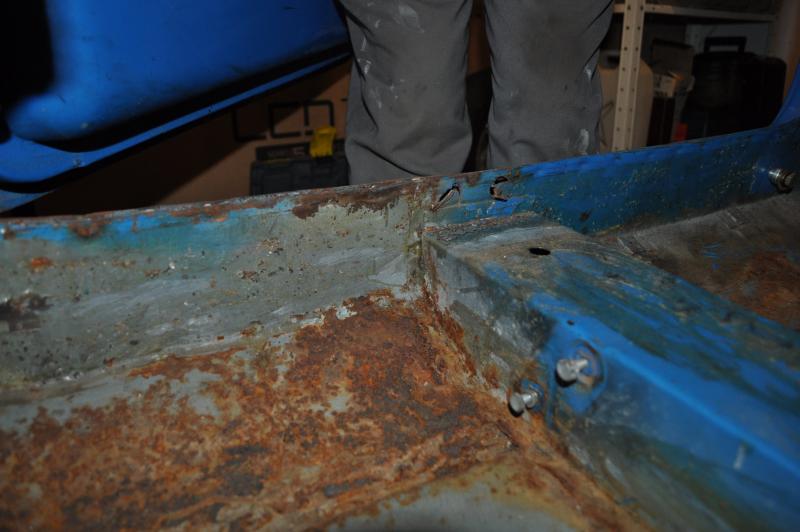
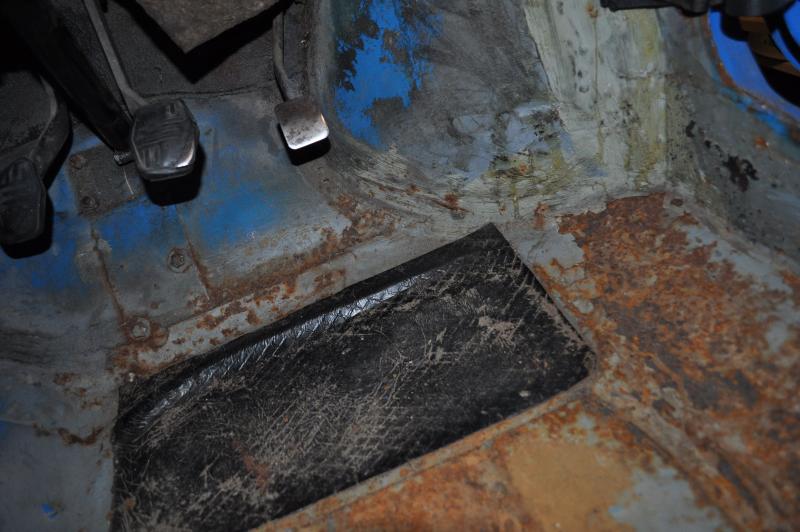




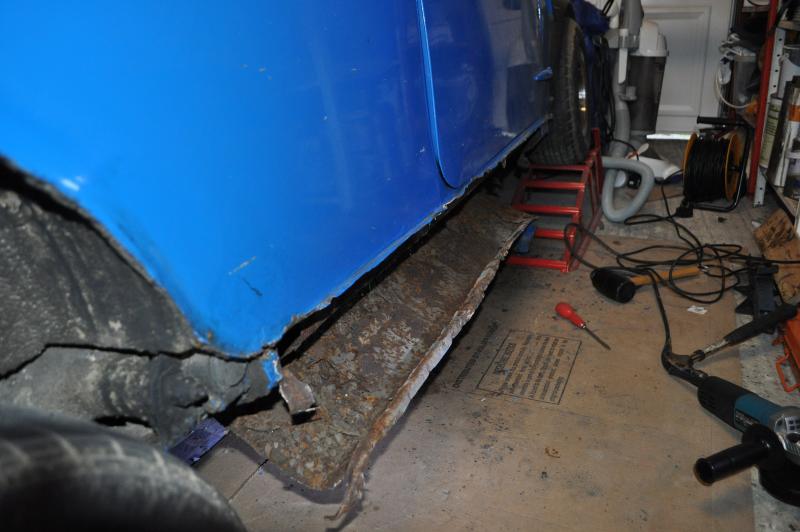

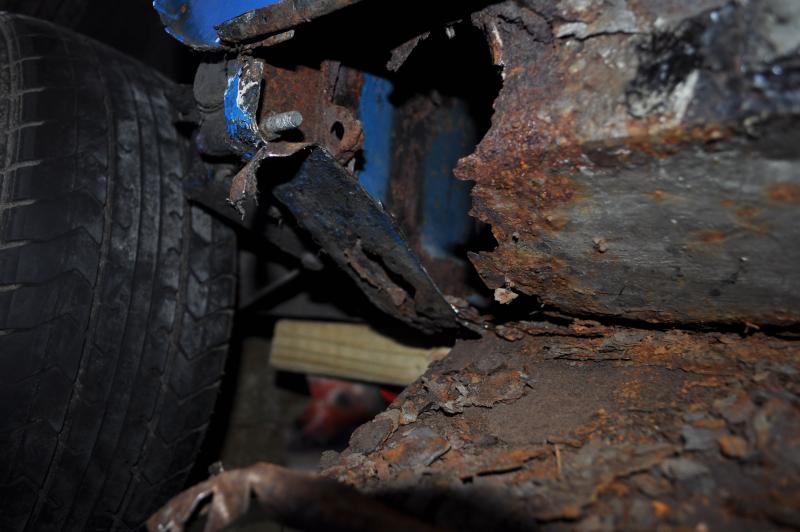


 nice van! have a look at mine and you will feel better about the rust on yours! haha XD
 Useful to know the name though, I’m sure i’ll be needing some paint sometime!